Guide · 6 min read
Put your own domain on every link your DMs send
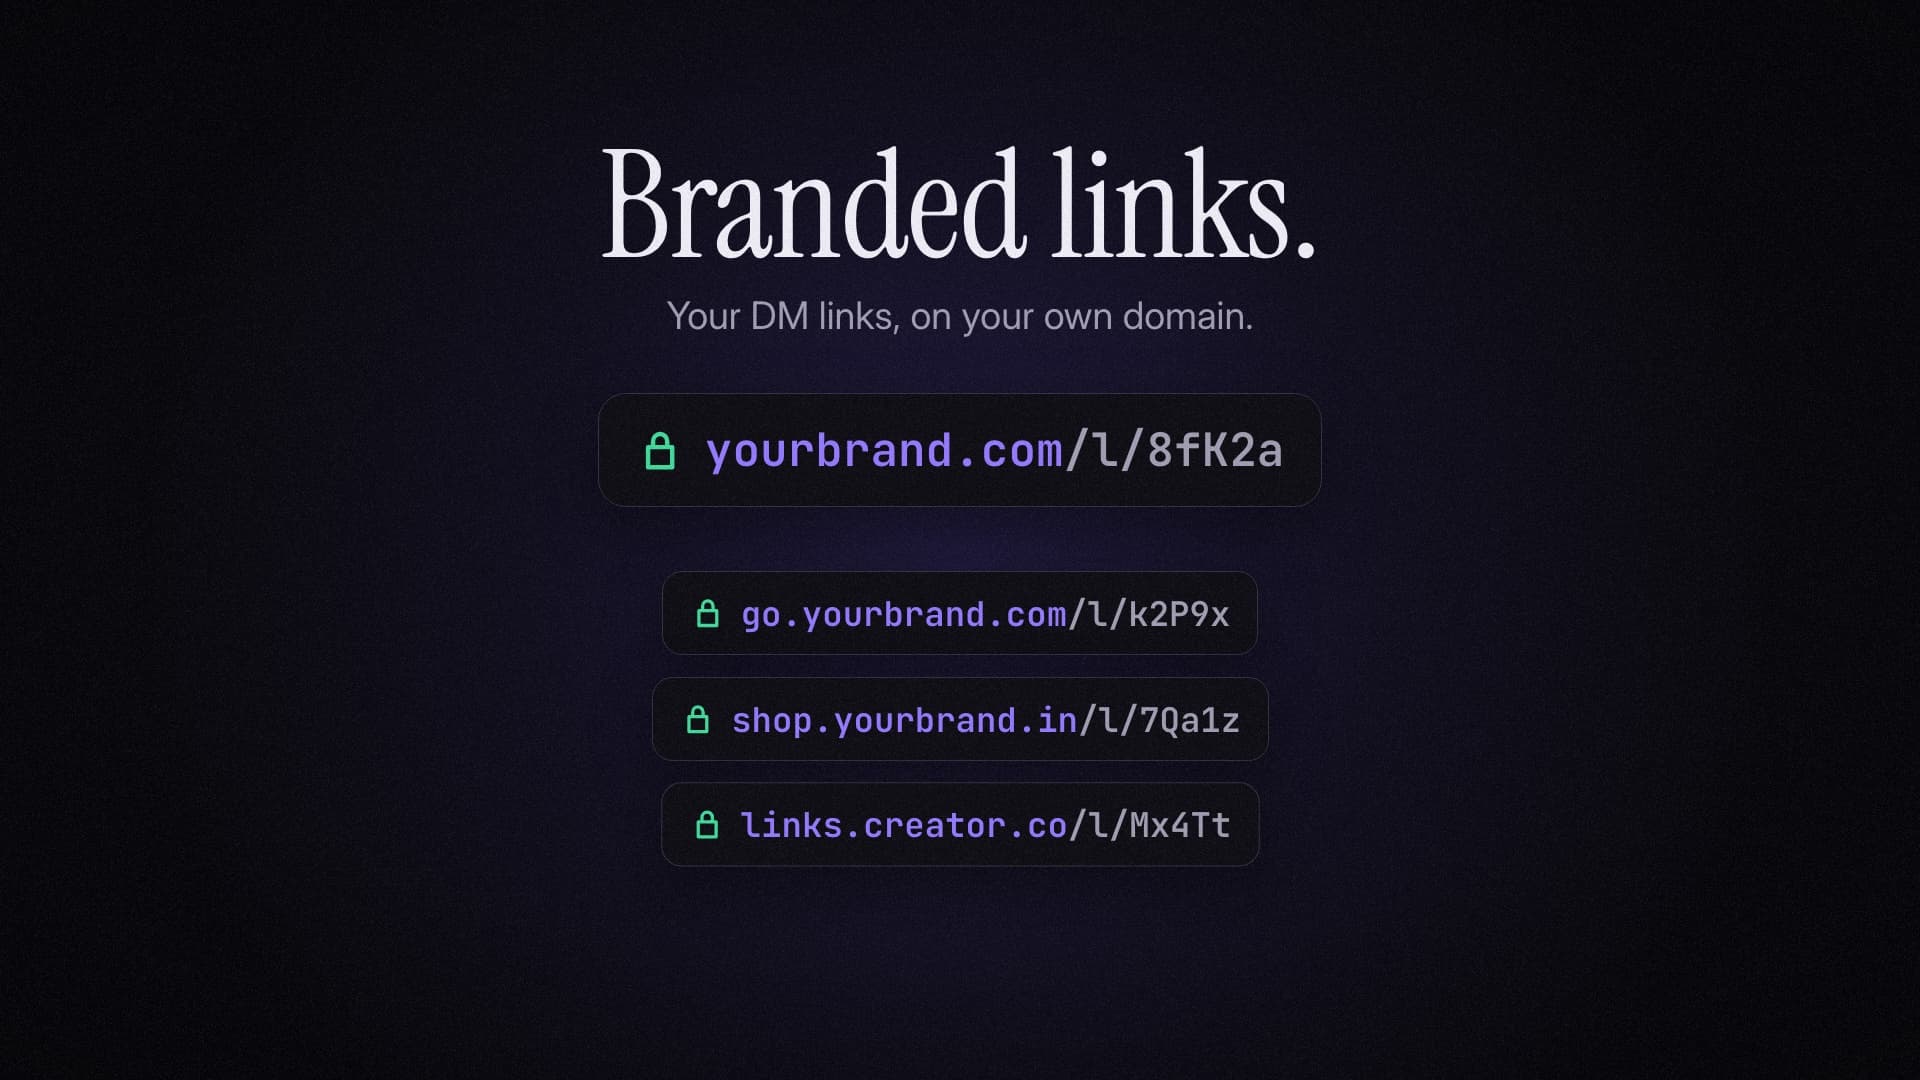
Branded links swaps postengage.ai/l/… for yourbrand.com/l/… in every DM your automations send. Setup is two DNS records and a few minutes of waiting. This is the whole process, provider by provider.
Every automation that sends a link wraps it in a short one, so taps can be counted: postengage.ai/l/8fK2a. Branded links replaces the postengage.ai part with a domain you own. The follower sees your name, taps go through your domain, and the counting works exactly as before.
Before you start
You need three things:
- A domain you own, and access to wherever its DNS is managed. That is usually where you bought it (GoDaddy, Namecheap, Hostinger) unless you moved DNS to Cloudflare.
- Branded links on your workspace. It is included in Studio. On Free and Creator, add it from Settings, Add-ons, at $7 a month or $60 a year.
- Five minutes, plus however long your DNS provider takes to publish the change.
Choose the domain
Use a subdomain (recommended)
go.yourbrand.com, links.yourbrand.in. Your website on yourbrand.com is untouched. One CNAME record.Use a whole domain
ybrand.co. Everything on that domain goes to link redirects, so never use a domain your website lives on. One A record.Short and recognisable wins. go. and l. are common for a reason: the link stays short in a DM preview and people read the brand first.
The setup, step by step
- 01
Enter your domain
In PostEngage, open Settings, Add-ons, Branded links and type the domain, for example go.yourbrand.com. The page immediately shows the two DNS records for it.
- 02
Pay, if your plan needs it
Studio skips this step. On Free and Creator you choose monthly or yearly and pay through Polar; you come straight back to the setup.
- 03
Add the two records
A CNAME (or A) record that points the domain at us, and a TXT record that proves the domain is yours. Provider-specific steps are below.
- 04
Press Check now
We look the records up on public DNS. When both match, the domain moves to issuing and the HTTPS certificate is requested automatically.
- 05
Live
Usually a minute or two later the page shows your domain as live. Every new DM link from that moment uses it.
The two records
The setup page shows the exact values for your domain, with copy buttons. For go.yourbrand.com they look like this:
| Type | Name | Value | Why |
|---|---|---|---|
| CNAME | go | postengage.ai | Sends link traffic to us |
| TXT | _postengage.go | pe-verify=… | Proves you own the domain |
The Name is relative to your domain. Most DNS panels add .yourbrand.com themselves, so type go, not go.yourbrand.com. If you type the full name, some providers end up with go.yourbrand.com.yourbrand.com, which is the most common reason a check fails.
Provider by provider
Cloudflare
- Open your domain, then DNS, Records, and click Add record.
- Type CNAME, Name
go, Targetpostengage.ai. - Set Proxy status to DNS only (the grey cloud). This matters: with the orange cloud on, Cloudflare answers in our place and the check cannot see the record, and the certificate cannot be issued.
- Click Add record again: Type TXT, Name
_postengage.go, Content thepe-verify=…value from the setup page. - Save both, go back to PostEngage and press Check now.
GoDaddy
- Go to My Products, find the domain and open DNS (sometimes labelled Manage DNS).
- Click Add New Record. Type CNAME, Name
go, Valuepostengage.ai, TTL 1 hour is fine. - Add another: Type TXT, Name
_postengage.go, Value thepe-verify=…value. - Save, then Check now in PostEngage. GoDaddy changes usually appear within minutes.
Namecheap
- Open Domain List, click Manage next to the domain, then the Advanced DNS tab.
- Under Host Records, Add New Record: CNAME Record, Host
go, Valuepostengage.ai. - Add another: TXT Record, Host
_postengage.go, Value thepe-verify=…value. - Click the green tick on each row to save it, then Check now.
Hostinger
- In hPanel open Domains, choose the domain, then DNS / Nameservers.
- Under Manage DNS records, choose type CNAME, Name
go, Points topostengage.ai, and add it. - Add a TXT record: Name
_postengage.go, TXT value thepe-verify=…value. - Hostinger lists the new rows at the top of the table. Then Check now.
Tick it off
Checklist
When the check does not pass
The setup page says exactly what it found. The usual causes:
- "was not found yet": the record has not published. Wait a few minutes and check again. Some providers take up to a few hours; nothing is lost by waiting.
- The CNAME points somewhere else: an older record with the same name exists. Delete it; a name can only have one CNAME.
- The name has your domain twice: you typed
go.yourbrand.cominto a panel that adds the domain itself. Change the name togo. - Cloudflare orange cloud: switch the record to DNS only.
- It verified but never went live: if the domain has a CAA record, it must allow Let's Encrypt (
letsencrypt.org), which issues the certificate. If it has been more than two hours, the page shows the error and the domain goes back to waiting for you.
After it is live
- New links use your domain automatically. There is nothing to change in your automations.
- Old links keep working on postengage.ai.
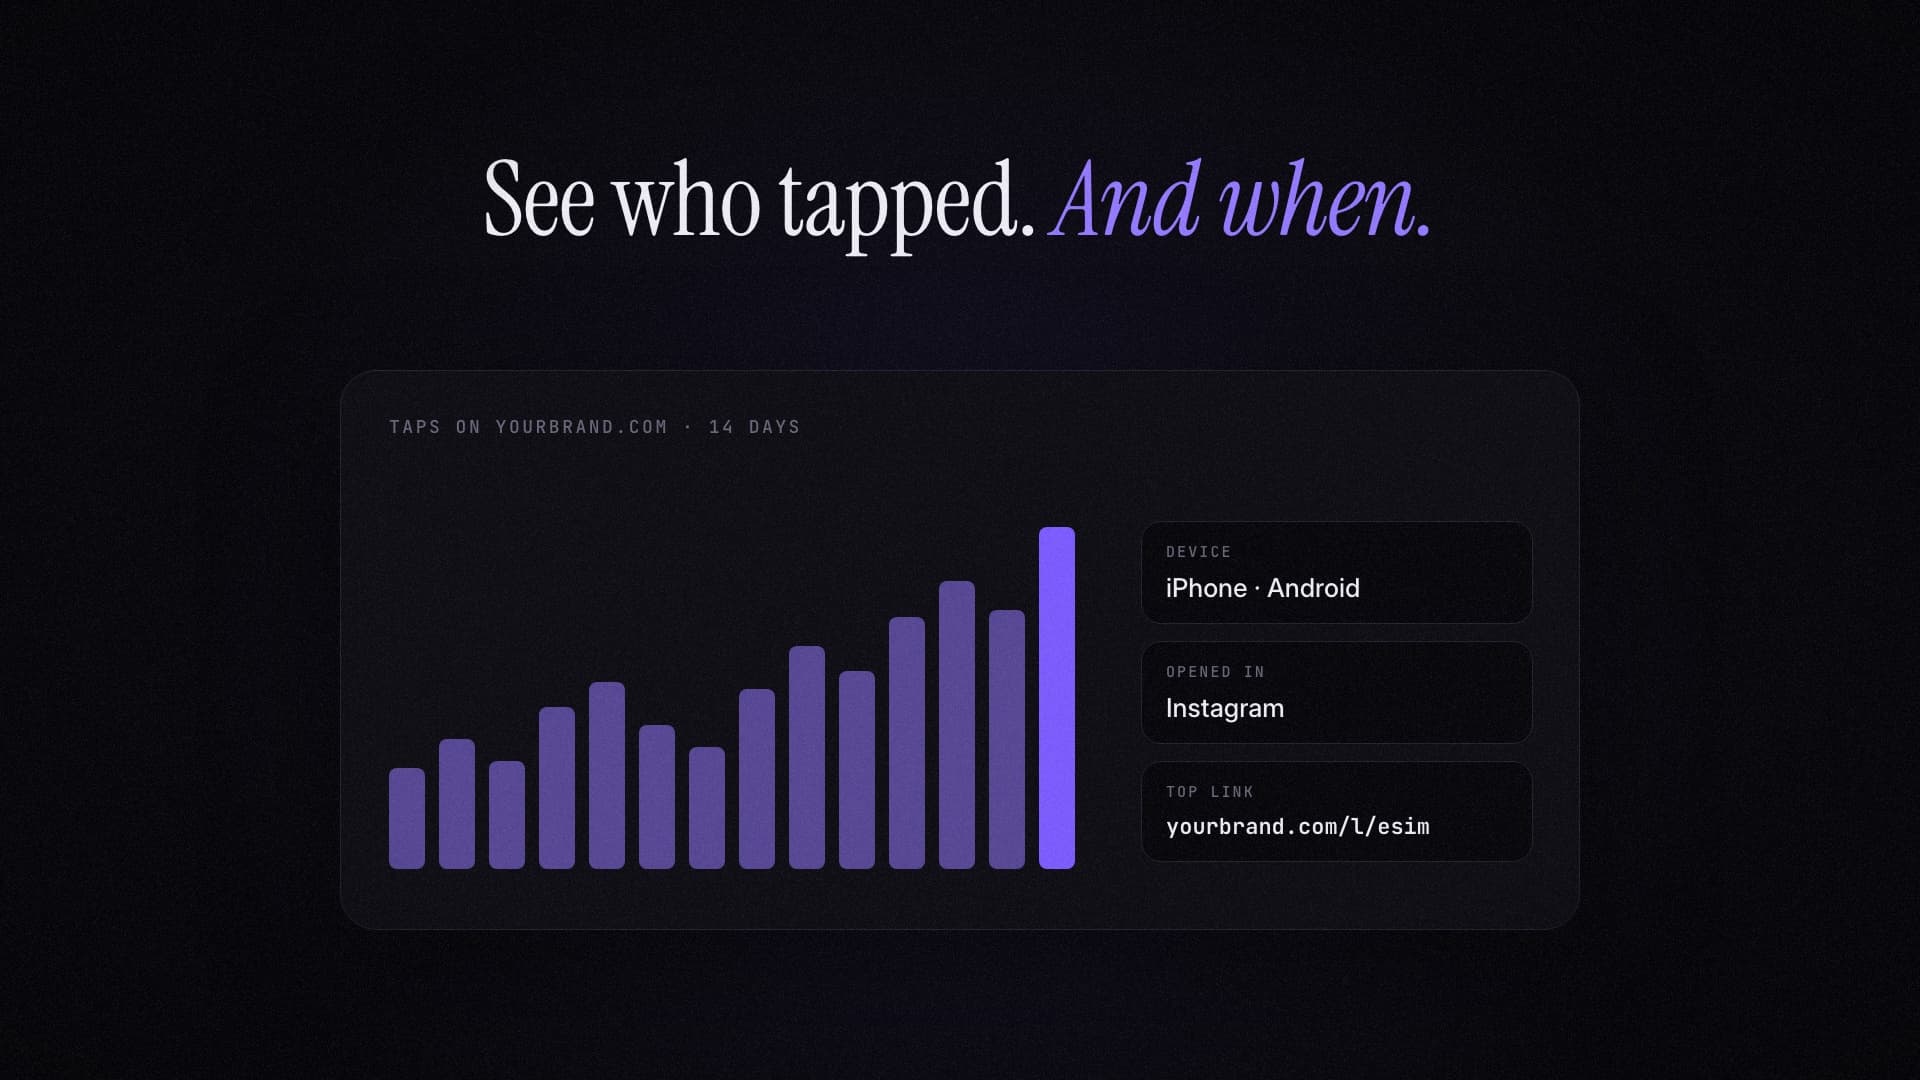
- Link insights open from the live screen, or from Links in the sidebar: who tapped, when, on which phone and from which country, with Instagram's own link previews filtered out so the numbers are people.
- If your DNS changes later, we notice within the hour. New links go back to postengage.ai until the record is fixed, and the setup page tells you what changed.
To move to a different domain, open Branded links, choose Change domain, and repeat the two records for the new one.
Questions people ask
Should I use my main domain or a subdomain?
A subdomain such as go.yourbrand.com, almost always. Pointing a domain at PostEngage sends all of its traffic to us, and we only answer link paths, so if your website lives on yourbrand.com, pointing yourbrand.com here would take the website down. Use the main domain only when it exists just for links, like a short domain you bought for the purpose.
How long does it take?
Adding the records takes a few minutes. DNS changes usually show up within minutes and occasionally take a few hours, depending on your provider. Once both records are visible, the HTTPS certificate is issued automatically, usually in a minute or two.
What happens to links I already sent?
They keep working on postengage.ai. Only links sent after your domain goes live use it. Nothing already in a conversation changes.
What if I cancel Branded links?
New links go back to postengage.ai when the paid period ends. Links already sent on your domain keep working for as long as your DNS record still points to us. Every purchase is final, so cancelling stops the renewal rather than returning the current period.
Is it included in any plan?
Studio includes it. On Free and Creator it is an add-on at $7 a month or $60 a year, and you can add it from Settings, Add-ons.
Can one workspace use more than one domain?
One domain per workspace for now. If you run several brands, each brand in its own workspace can have its own domain.